Most qipaos in museum collections are in silk, including satin, crepe, velvet, georgette and silks with woven patterns. Other natural materials were also used. Wool is one choice for colder weathers (other choices include quilted cotton and adding thicker linings). Cotton is more affordable and more suitable for everyday wear, even though cotton qipaos do not survive in collections as much. I have not seen a historical qipao in viscose, but there is no reason to think this material was not used. A thin, non-scratchy linen would work too, though the finished dress would never be as flowy as silk. In any case, I would recommend something drapey, which would be more forgiving to imprecisions and mould to the body.
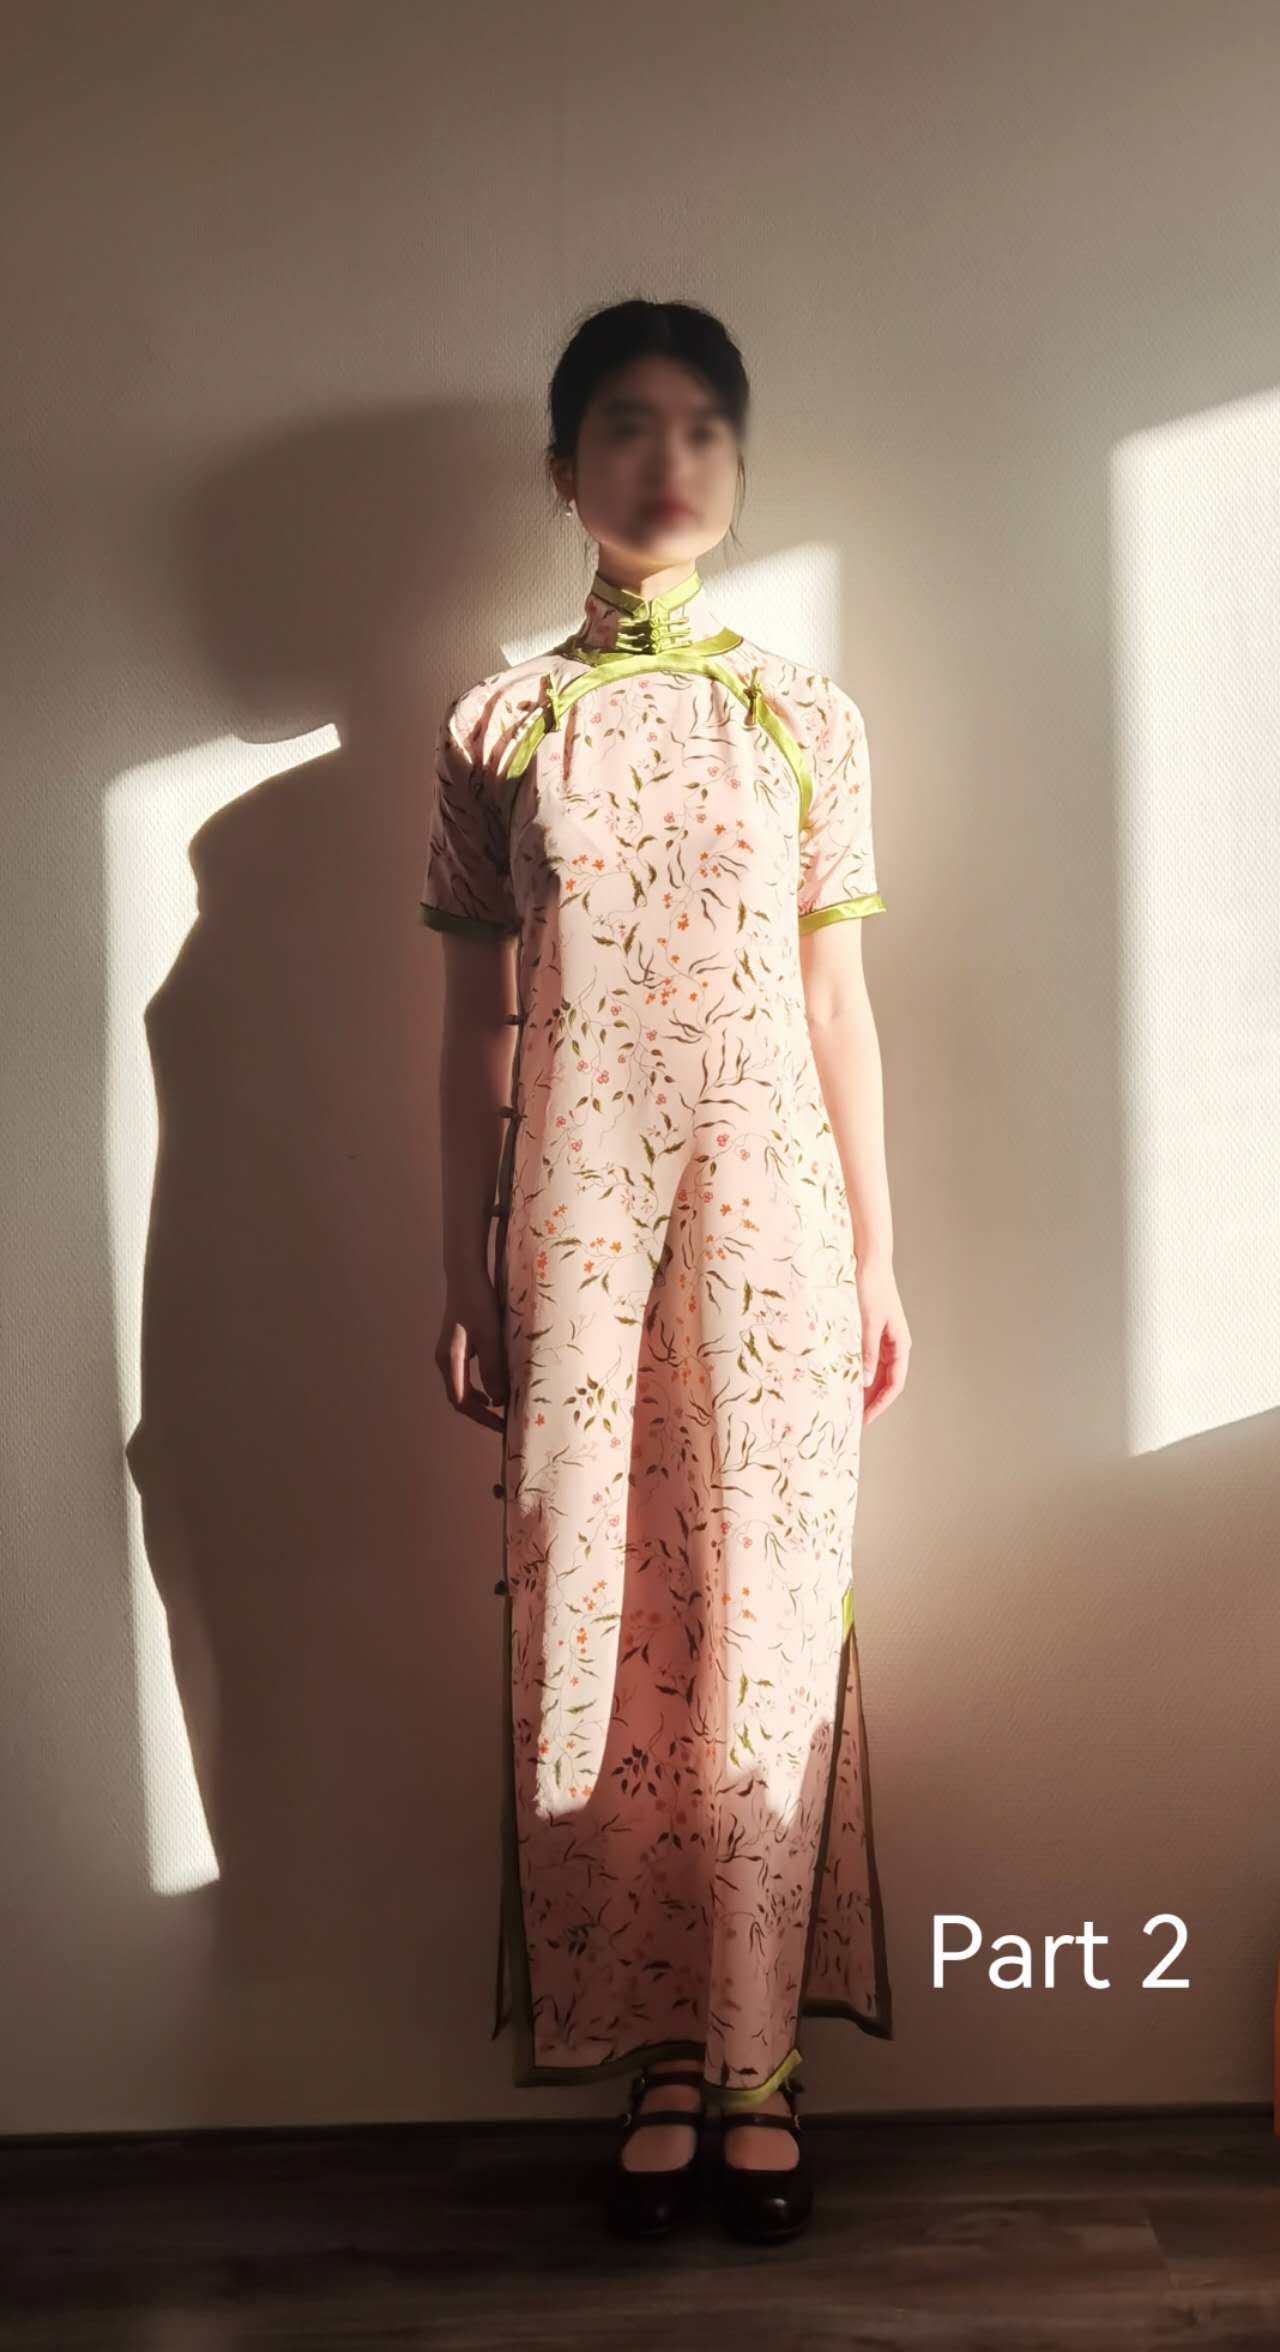
The main fabric I use here is a silk crepe de chine from Liberty and the motif is inspired by the television series Bridgerton, which is set in the early nineteenth century. It amuses me to think about the history of the pattern. Liberty, opened in 1875 by Arther Lasenby Liberty, was initially famous for its display and retail of garments, shawls and embroidered pieces from China, Japan, India and many other regions in Asia.[4] Later, he substituted the imported textiles with fabrics manufactured in Britain. Although it is hard to say whether there was an ‘aesthetic’ of the prints of Liberty fabrics, some of the initial designs were inspired by Indian botanical patterns and some others displayed traces of the Arts and Crafts and the Art Nouveau Movements, which were both influenced by Asian art, and they also serve as references for many subsequent designs.[5] The taste for Chinese fabrics was not restricted to the late nineteenth century. The popularity of Chinese decorative arts and Western adaptations of them can be observed throughout the second half of the eighteenth century and lasted into the early nineteenth century.[6] The Asian influences in Liberty designs makes an interesting research topic, and my project is not just ‘an English pattern on a Chinese dress’.
Back to the practicalities.
Amount of fabric to buy: For a traditional qipao with opening on one side only and no shoulder seams (i.e. the entire qipao is cut in one piece), you would need buy double the length of your finished dress plus a generous allowance. For a qipao with openings on both sides and no shoulder seams (i.e. there is a front piece and a back piece, like the one I am making), you would need one dress length, plus around 30cm and a generous allowance. The fabric needs to be wider than the tongxiu (measurement from one cuff to the other). If you are making a long-sleeved qipao and the fabric is not wide enough, the piecing is usually positioned about the mid-arm.
Recently, it has been popular amongst Chinese qipao wearers and makers to buy vintage kimono fabrics for their good quality and beautiful designs. The traditional kimono fabrics are around 30cm wide. In this case, two widths of fabric are seamed at the CF and CB. This is done after the pre-wash, but prior to drawing and cutting out the pattern pieces. If you factor in the seam allowance for the front opening and make a small fold on the right side of the neck portion before this step of seaming, there would be no need to slant the pattern as discussed in Part 1.
(3 January, 2026 edit: Someone kindly asked about using kimono fabric. I can try to clarify this a little. Fig. 4a below shows a general scheme: the dotted line near the slanted opening indicates the overlapping area, and the dotted line down the right side indicates the modesty panel. Piece the fabric along the CB and the CF; ideally, the pattern should match to make the central seams inconspicuous. As I see it, there are three possibilities depending on the print of the kimono fabric and how much you have:
1) There is no print or woven pattern, or only a small repeat, and there are only two three-metre strips of fabric. First, match the back. Also draw the lines for the collar, sleeve, underarm, and slanted opening in the front right section. Then, pinch and fold the fabric slightly as indicated, whilst matching the pattern along the CF. Re-draw the slanted opening and proceed to draw the right side and hem. Cut between the two lines for the slanted opening, slightly closer to the re-drawn one. You will need a separate modesty panel (unless the chest circumference is very small and the sleeves are short, in which case it might be possible to cut the modesty panel in continuation with the back right part and draw the front right part on the same strip of fabric).
2) The pattern is really hard to match, for example a big sprig of flowers, but there are only two three-metre strips. It is difficult to match both front and back in this case. A wide binding or edge decoration would work, if you sew very carefully.
3) There are more than two strips of fabric. You can cut the modesty panel together with the back right piece, and use another piece of fabric for the front right.
End of edit.)
Around 5m of bias tape is required for a single row of binding in the usual places: collar, neckline, sides, hems and cuffs. You would also need around 35cm of cord, made from a bias tape, for a pair of the simplest knot-and-loop closures, and there would usually be 10-12 pairs of them. More is required for the elaborate, decorative closures. When I make the bias tapes myself, I usually buy 1m of each colour I plan to use and more if there are multiple rows of the same colour. If you buy a premade tape, you would need to decide whether it needs a prewash.
You need a small piece of lining for the collar. I prefer a non-fusible cotton lining, which feels comfortable even though it is less stiff, but a stiff fusible lining or a nylon one is better for a satisfactorily smooth look.
Most makers also use fusible stay tapes to stabilise the side seams after the steam-shaping. I have been using thin silk or cotton ribbons and manually sewing them on, which also works.
Some people prefer the knot-and-loop closures to look stiff and smooth. To achieve this, you can either starch the fabric (before cutting out the bias strips) or insert a strip of yarn or ribbon into the cord.
You would need the usual tools such as scissors, pins and needles. It is essential to have a good steam iron. These days there are mini irons available, which is handy for the pressing the finer areas, but they don’t seem to be as well-made as the big ones in my opinion.
Endnotes:
[4] Anna Buruma, ‘Liberty & the Business of Embroidery’, The Journal of the Decorative Arts Society 1850 – the Present 33 (2009): 74.
[5] Sarah Nichols, ‘Arthur Lasenby Liberty: A Mere Adjective?’, The Journal of Decorative and Propaganda Arts 13 (1989): 79.
For one example of the numerous papers on the Asian influence on Art Nouveau, see: Clay Lancaster, ‘Oriental Contributions to Art Nouveau’, The Art Bulletin 34: 4 (1952): 297.
[6] Leanna Lee-Whitman, ‘The Silk Trade: Chinese Silks and the British East India Company’, Winterthur Portfolio 17: 1 (1982): 21-22. One example of chinoiserie in textiles is the interior décor of the expanded Buckingham palace. See: Christopher Maxwell, ‘Chinoiserie at Buckingham Palace in the Nineteenth Century’, The Burlington Magazine 149: 1251 (2007): 383-92.
Leave a Reply
You must be logged in to post a comment.